
Finn의 개발블로그
Python 에서 MQTT 사용하기 본문
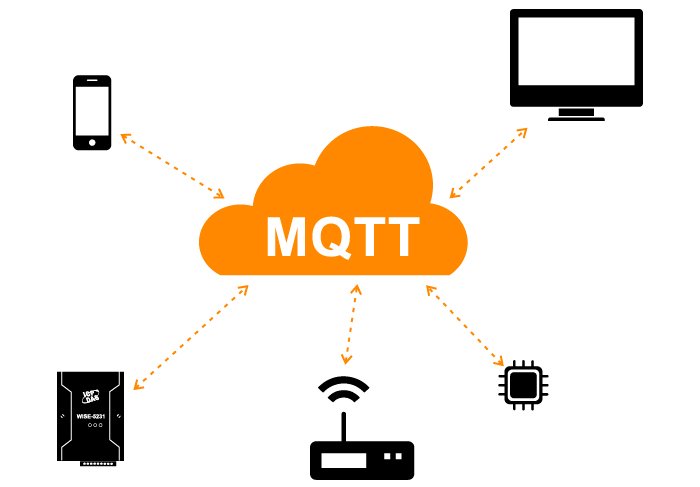
1.MQTT
MQTT는 클라이언트 publish / subscribe 메시지 전송 프로토콜입니다. 가볍고 개방적이며 간단하며 구현하기 쉬워서 M2M(Machine-to-Manchine)및 IOT(internet of Things) 에 적합한 선택이다.
1-1.MQTT 특징
Client
MQTT 의 broker 에 연결된 모든 것을 말한다
Broker
Broker 는 모든 메세지를 수신, 필터링, 메시지 구독하는 사람 결정, 클라이언트에게 메세지를 보내는 역할을 한다.
Publish / Subscribe
Publish : topic을 지정하여 topic 을 subscribe 하고 있는 클라이언트에게 메세지를 보낸다.
Subscribe: topic을 구독하여 topic으로 publish된 메시지를 받는다.
Topic
MQTT의 topic은 슬래쉬(/)를 분리 문자로 사용하여 폴더 및 파일과 유사한 계층 구조를 가진다.
example
house
house/room
house/room/main-light
house/room/left-light
QoS(Quality of Service)
0 : 최대 1회 메세지를 보냅니다. 메세지가 소실 될 수 있습니다.
1 : 최소 1회 메세지를 보냅니다. 메세지가 중복 전송될 수 있습니다.
2: 핸드쉐이킹 과정으로 메세지를 1회 보냅니다. 메세지를 1회 보내는 것은 보장하지만 대신 성능이 감소 됩니다.
1. Mac: /usr/local/Cellar/rabbitmq/(vrsion)/sbin/rabbitmq_plugins enable rabbitmq_mqtt
2-2 RabbitMQ_Management 설치
1. Mac: /usr/local/Cellar/rabbitmq/(vrsion)/sbin/rabbitmq_plugins enable rabbitmq_management
3.Python 에서 MQTT 사용하기
1. pip install paho-mqtt
2. publish.py
import paho.mqtt.client as mqtt
import json


def on_connect(client, userdata, flags, rc):
    if rc == 0:
        print("connected OK")
    else:
        print("Bad connection Returned code=", rc)


def on_disconnect(client, userdata, flags, rc=0):
    print(str(rc))


def on_publish(client, userdata, mid):
    print("In on_pub callback mid= ", mid)


# 새로운 클라이언트 생성
client = mqtt.Client()
# 콜백 함수 설정 on_connect(브로커에 접속), on_disconnect(브로커에 접속중료), on_publish(메세지 발행)
client.on_connect = on_connect
client.on_disconnect = on_disconnect
client.on_publish = on_publish
# address : localhost, port: 1883 에 연결
client.connect('localhost', 1883)
client.loop_start()
# common topic 으로 메세지 발행
client.publish('common', json.dumps({"success": "ok"}), 1)
client.loop_stop()
# 연결 종료
client.disconnect()
3. subscribe.py
import paho.mqtt.client as mqtt


def on_connect(client, userdata, flags, rc):
    if rc == 0:
        print("connected OK")
    else:
        print("Bad connection Returned code=", rc)


def on_disconnect(client, userdata, flags, rc=0):
    print(str(rc))


def on_subscribe(client, userdata, mid, granted_qos):
    print("subscribed: " + str(mid) + " " + str(granted_qos))


def on_message(client, userdata, msg):
    print(str(msg.payload.decode("utf-8")))


# 새로운 클라이언트 생성
client = mqtt.Client()
# 콜백 함수 설정 on_connect(브로커에 접속), on_disconnect(브로커에 접속중료), on_subscribe(topic 구독),
# on_message(발행된 메세지가 들어왔을 때)
client.on_connect = on_connect
client.on_disconnect = on_disconnect
client.on_subscribe = on_subscribe
client.on_message = on_message
# address : localhost, port: 1883 에 연결
client.connect('localhost', 1883)
# common topic 으로 메세지 발행
client.subscribe('common', 1)
client.loop_forever()
4. python subscribe.py 실행
5. python publish.py 실행
6. 결과
